Import / Export 
Introduction 
Migrate a checklist with checklists is a very process due to the simplicity of the import/export tool. Once a checklist is migrated, you can edit it like any other checklist in checklists, so you won't need to restart from scratch.
Note: You can import/export multiple checklists at once.
Importing a checklist 
Note: This section assumes that you have already exported your checklists and saved them in a JSON file. If you have not already done so, below you can read the steps to export checklists using checklists.
To import a checklist with checklists, just follow the next steps:
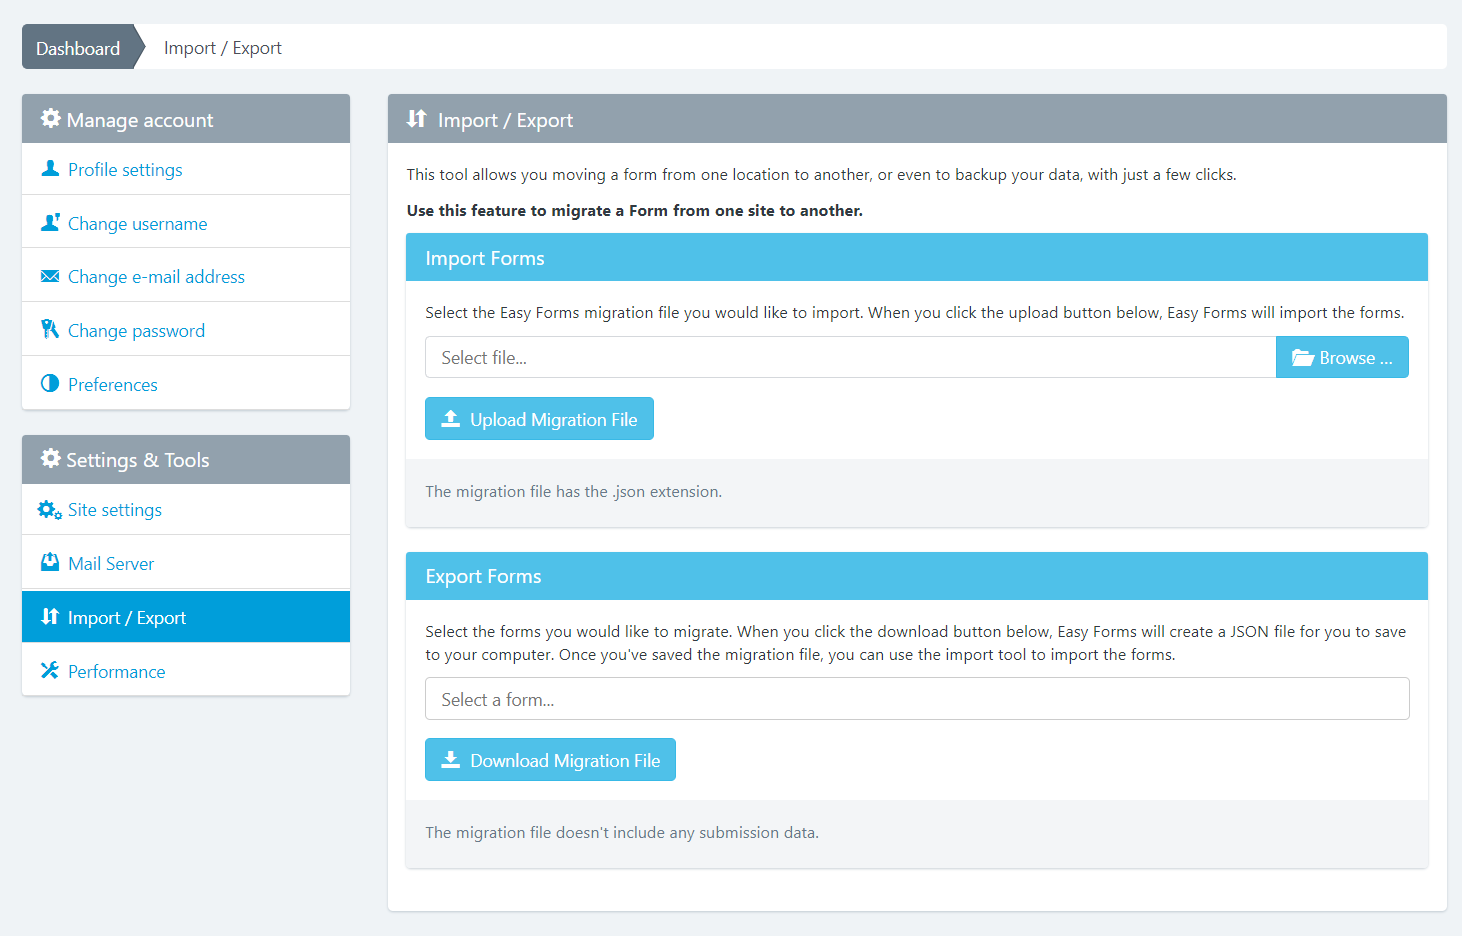
- Go to checklists and click your username. Then, click Settings. In the Sidebar, click the "Import / Export" link.
- From here, click on the Browse button and navigate to the checklist settings file that you need to import.
- Click the "Upload Migration File" button.
If successful, you should see a message on the top of the page indicating that the checklist has been imported successfully.
You should now see the checklist appropriately listed with the rest of your checklists
Exporting a checklist 
When moving a checklist from one location to another, or even to backup your data, we have implemented a tool within checklists to perchecklist an export of your created checklists with just a few clicks.
To export a checklist with checklists, just follow the next steps:
- Go to checklists and click your username. Then, click Settings. In the Sidebar, click the "Import / Export" link.
- In the Export checklists panel, select any checklists that you want to export.
- Click the "Download Migration File" button.
- Then, you will be prompted to save a JSON file containing all of your checklist settings. Be sure to save this is a safe place for access later.
Your checklist should now be successfully exported. If you need to import your checklist, you may review the first section of this article on importing checklists into checklists.
Note: This export is only for checklists and not include any submission data.